So here's part of the email I just sent my crew in Dallas...
"Greg talked on the phone today with someone that he interviewed with last March. That company has some DoD contracts. They never filled this position for a Program Manager. (Greg is a PM with a company right now who just laid off his entire division, and are now scrambling to figure out who is going to keep up with all those programs.) All these companies that work on DoD contracts end up competing for some contracts, and working together as prime and sub-contractors on other contracts. So it's a small world and many of them know each other. Anyway, this company seems to be now about to fill this PM position. It is here in SA. After that phone call, which was with a guy that he has known for many years (both were in the same field in the military) Greg got an email asking if he could interview here tomorrow at either 10 or 3. He emailed back and asked for 10 because he will be in the office all afternoon tomorrow doing some transferring of stuff there. He hasn't gotten an email back yet confirming that 10 time, but is assuming that he will have the interview at 10.
So y'all could all pray that that interview will lead to something or not, whatever God would want.
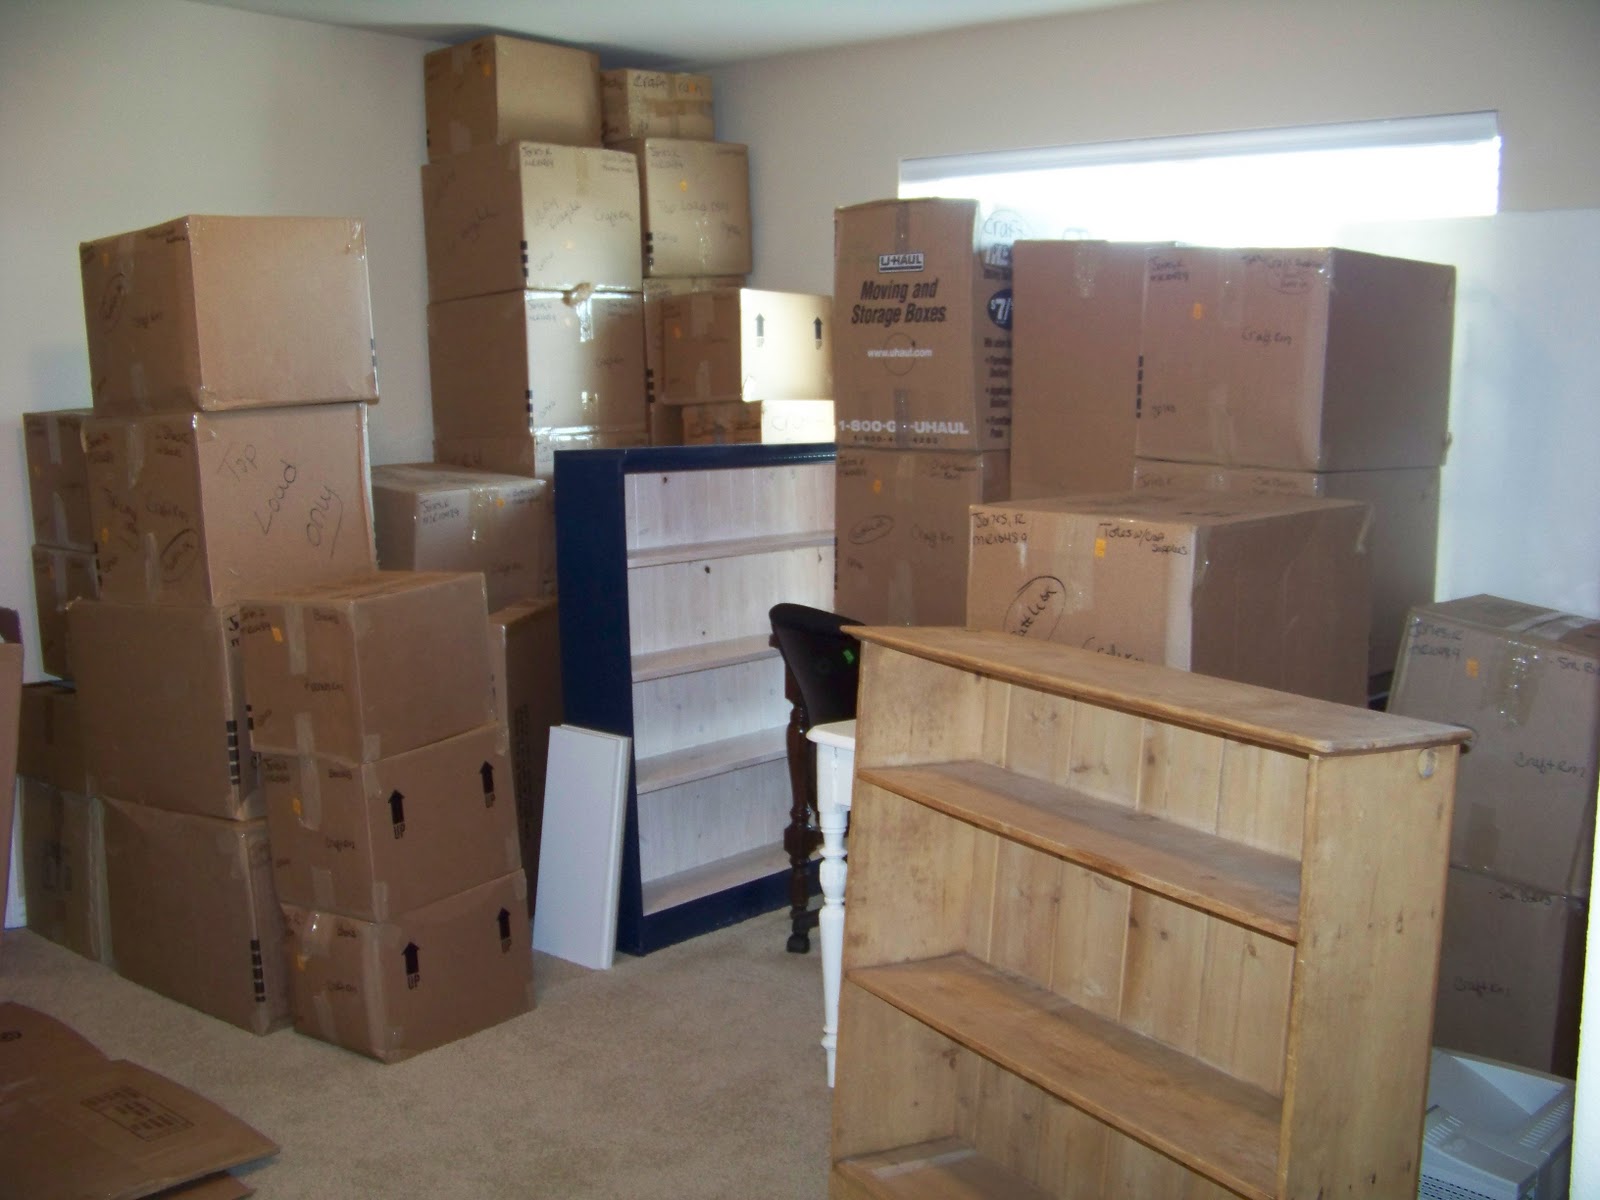
There are a lot of people in that DoD world here that are looking for stuff to send to him. He gets a lot of emails and calls telling him to send a resume to so-and-so. It seems to all, of course, be stuff that would be here. So we are thinking at this point that it might be unlikely that we will load a trailer with any of this stuff right now. We don't want to haul it all to Dallas and then haul it all right back, though that would seem to fit right in with our new norm. So, kids, all the furniture that I had texted you pictures of - just put all that on hold for awhile. If he ends up with a job in Dallas, or if he still has no job by the end of May when we have to move out of this apartment, then we will bring all of that to y'all.
We will decide late Thurs if we are going to drive to Dallas on Fri, or if we are going to wait till Wed to drive there. I think the only reason we'd wait till Wed is if anything comes up here such as other interviews. He meets with that oil man on Thurs (not an interview, just another conversation like they have been having for a year), and I have a haircut on Thurs, which I have already canceled once and rescheduled, which was already late because of the timing of my being here, and which I am in desperate need of, as I am looking like a sheep dog, so I am surely hoping that we will be heading to Dallas by then.
Only God knows if any of this SA stuff will transpire. But if it does, I will be unpacking some of the things that I just packed. Just the necessities to get us by till we can then move out of this apartment and away from the yelling, deaf cattle upstairs that sleep by day and run by night, the screaming cacklers next door that sit outside on little pillows on the concrete and drink beer till 2am, the bbq-ing partiers downstairs that start their cooking and drinking at 11pm, and the train that parks at the gravel pit in our backyard and blows its horn all. night. long.
I'll let y'all know how the interview tomorrow goes, assuming it goes.